Creating a driveable path with pavers requires precision and expertise. Such a project can transform the exterior appearance of your home while adding lasting functionality. To achieve a professional result, each step must be carefully executed. From preparing the ground to laying the pavers, every detail matters. Let’s learn together the proven techniques for laying driveable pavers to ensure the longevity and aesthetics of your project.
Ground Preparation
The first step in laying driveable pavers is to prepare the ground methodically. A well-prepared base ensures the stability and longevity of your work.
- Defining the area: Start by marking the area where you want to lay the pavers. Use stakes and string to create a precise outline.
- Excavation: Dig to a depth of about 30 cm. This depth allows for all necessary layers, including sand and gravel.
- Debris removal: Make sure to remove all stones, roots, and other debris that could compromise the stability of the foundation.
- Leveling: Use a level to check that the surface is flat. An uneven surface could lead to drainage and stability issues.
Foundation Laying
A solid foundation is essential to ensure that the pavers stay in place and can support the weight of vehicles.
- Installing a geotextile layer: Spread a geotextile fabric to prevent weed growth and stabilize the soil.
- Installing a gravel layer: Add a layer of gravel about 20 cm thick. Compact the gravel well to ensure a solid base.
- Laying a sand layer: Pour a layer of sand 5 to 10 cm thick over the gravel. Use a straightedge to level the sand properly.
Paver Installation
Laying the pavers is the most technical step of the project. Precise and uniform installation ensures an aesthetic and durable finish.
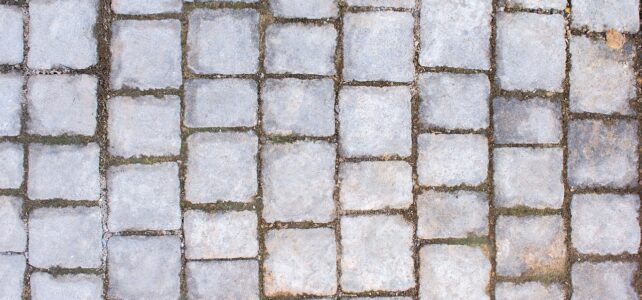
- Choose the pattern: Before starting, decide on the pattern for laying the pavers. Chevron, staggered, or straight row patterns are among the most popular. Lay out a few pavers without pressing them down to visualize the final look.
- Start from a corner: Begin laying from a corner of the path. Align the first pavers according to the tension of the strings. Use a rubber mallet to gently press them into the sand.
- Regularly check alignments: Use a level and a straightedge to ensure that each row of pavers is aligned and level. Adjust as necessary.
- Filling the joints: Once all the pavers are laid, spread fine sand over the entire surface. Sweep the sand to fill the joints between the pavers. Repeat the process until the joints are well filled.
Finishing and Maintenance
To ensure the durability of your path and maintain its aesthetic appearance, some finishing touches and regular maintenance are essential.
- Final compaction: Use a vibrating plate to compact the pavers and sand. This ensures a uniform and stable surface.
- Sealing: Apply a paver sealer to protect the surface from stains and weathering.
- Regular maintenance: Regularly check the condition of your path. Remove any weeds that may grow between the joints and replace the sand if necessary.
- Cleaning: Clean your pavers regularly to avoid the accumulation of dirt and moss.
Successfully laying driveable pavers requires patience and precision, but the result is worth it. With careful ground preparation, a solid foundation, meticulous paver installation, and regular maintenance, your driveable path will remain functional and aesthetically pleasing for many years. Implement these tips and enjoy a path worthy of professionals.